Blog
How Do You Reset the Battery on a Hoverboard?

To reset the battery on a hoverboard, you typically need to disconnect the battery, perform a hard reset, and then reconnect it. This process can help resolve issues such as the hoverboard not turning on or experiencing charging problems. Following these steps ensures your hoverboard operates smoothly.
How Do You Perform a Hard Reset on a Hoverboard?
Performing a hard reset on your hoverboard is essential when it becomes unresponsive or fails to turn on. To do this, press and hold the power button for about 10 seconds until you see any LED indicators flashing or beeping, which indicates that the reset process has begun.
| Step | Action |
|---|---|
| 1 | Press and hold the power button for 10 seconds. |
| 2 | Wait for LED indicators to flash or beep. |
| 3 | Release the button and wait another 30 seconds before turning it back on. |
What Steps Should You Take to Disconnect the Battery?
To disconnect the battery, first, ensure that your hoverboard is powered off. Then, remove any screws securing the battery compartment and gently pull out the battery connector from its socket. This step is crucial for safely resetting your hoverboard without causing damage.
Why Is Calibration Important After Resetting?
Calibration is crucial after resetting because it aligns the internal sensors and ensures proper functionality. Without calibration, the hoverboard may behave erratically or feel unstable during use, affecting safety and performance.
When Should You Check for Charging Issues?
Check for charging issues if your hoverboard does not turn on after performing a reset or if it fails to charge properly. Look for signs such as LED indicators remaining green when charging should be occurring, which may indicate a problem with the battery or charger.
Where Can You Find LED Indicators for Troubleshooting?
LED indicators are typically located near the power button or on the front of your hoverboard. These lights provide crucial information about the status of your device, including whether it is charging, fully charged, or experiencing an error.
| Indicator Color | Meaning |
|---|---|
| Green | Fully charged or no issues detected |
| Red | Charging in progress or error detected |
| Flashing | Indicates calibration mode or other alerts |
Are There Specific Steps to Reconnect the Battery?
Yes. To reconnect the battery, align the connector with its socket and push it firmly into place until you hear a click. Make sure all screws are securely fastened before powering on your hoverboard again.
Can You Reset the Battery Management System (BMS)?
Yes, resetting the Battery Management System (BMS) can help resolve issues related to battery performance and charging. This typically involves disconnecting and reconnecting the battery as described earlier, allowing the BMS to recalibrate itself.Redway Power Expert Views
Regular maintenance of your hoverboard’s battery system is essential for optimal performance. If you encounter persistent issues after attempting a reset, consider consulting with a professional technician to avoid further complications.” – Expert from Redway Power
Conclusion
Resetting your hoverboard’s battery involves several key steps: performing a hard reset, disconnecting and reconnecting the battery, and ensuring proper calibration afterward. By following this guide, you can troubleshoot common issues effectively and ensure that your hoverboard operates smoothly.
FAQ Section
- How do I know if my hoverboard needs a reset?
If your hoverboard is unresponsive or does not turn on after charging, it may need a reset. - What should I do if my hoverboard’s LED indicators are flashing red?
Flashing red usually indicates an error; try resetting the device by following the hard reset procedure. - Can I perform these steps without any tools?
You may need basic tools like a screwdriver to access and disconnect the battery safely. - How often should I calibrate my hoverboard?
It’s recommended to calibrate after any significant drop or bump that may affect its balance or performance. - What if my hoverboard still doesn’t work after resetting?
If problems persist after resetting, consider checking for hardware issues or consult a professional repair service.
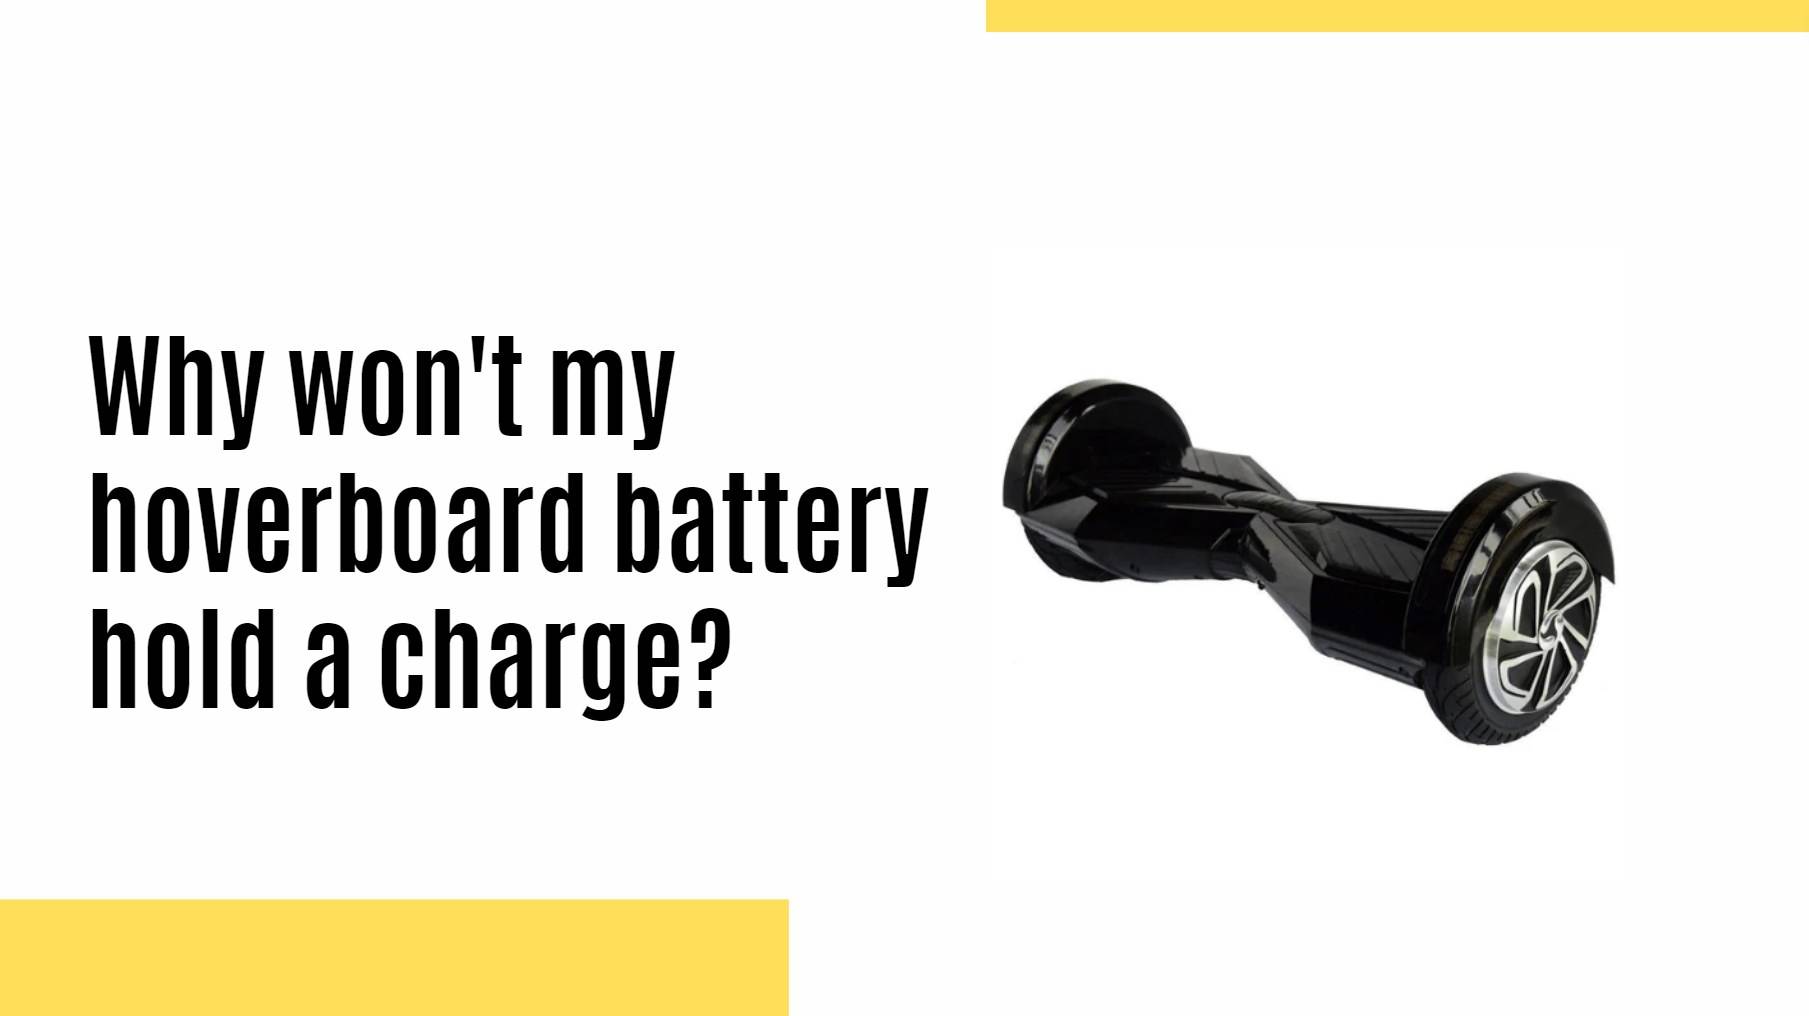
Why is my hoverboard battery not holding a charge?
If your hoverboard battery won’t hold a charge, it may be due to battery degradation, overcharging, or a faulty charger. Check the charger output, inspect connections, and consider replacing the battery if it’s over a year old.
How to fix a hoverboard that keeps beeping?
A hoverboard that keeps beeping may indicate imbalance, low battery, or sensor issues. Reset the device on a level surface, fully charge the battery, and ensure both wheels rotate freely without obstruction or damage.
How to fix flashing orange light on hoverboard?
A flashing orange light on a hoverboard often signals a battery fault. This can mean low voltage or a defective battery cell. Try charging with a known working charger, or replace the battery if the issue continues.
What is a hoverboard battery charger?
A hoverboard battery charger is a device that outputs 42V (for 36V batteries) and connects via a 3-pin or 2-pin port. It regulates voltage to safely recharge lithium-ion batteries in hoverboards.
How to replace a hoverboard battery?
To replace a hoverboard battery, turn off the device, remove the screws on the bottom panel, disconnect the old battery, and plug in the new compatible 36V battery. Secure it and reassemble the shell before powering on.
What is hoverboard battery replacement 42V?
A hoverboard battery replacement 42V refers to a charger output compatible with a 36V lithium-ion battery, fully charging it to around 42V. It ensures proper voltage to avoid undercharging or overcharging.
How to reset hoverboard battery?
To reset a hoverboard battery, unplug the charger, power off the hoverboard, then perform a gyroscope reset. If the battery remains unresponsive, disconnect and reconnect it or replace it if voltage remains low.
What is hoverboard battery 36V?
A hoverboard battery 36V is a lithium-ion battery pack commonly used in standard hoverboards. It provides sufficient power for speeds up to 10 mph and typically delivers a range of 6–12 miles per charge.