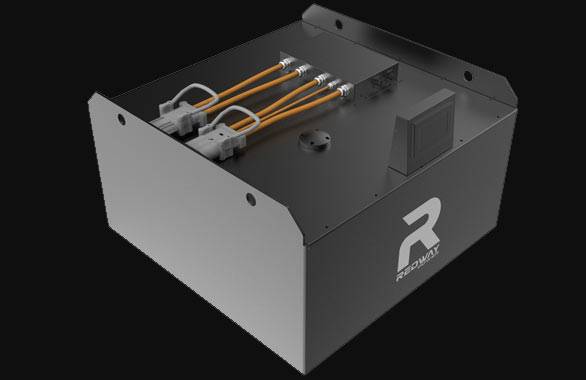
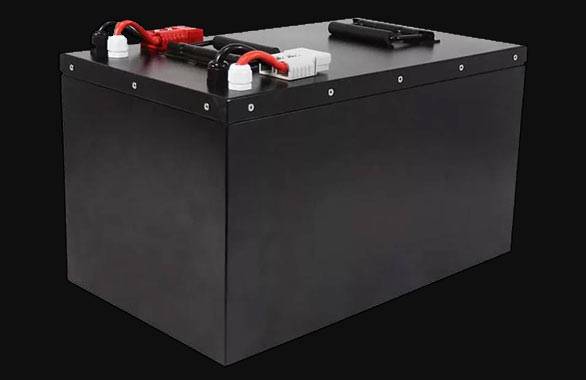
- Forklift Lithium Battery
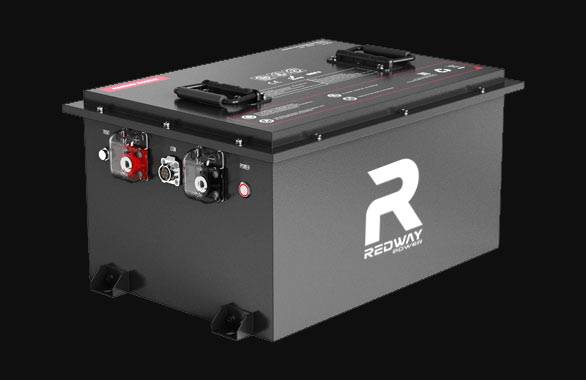
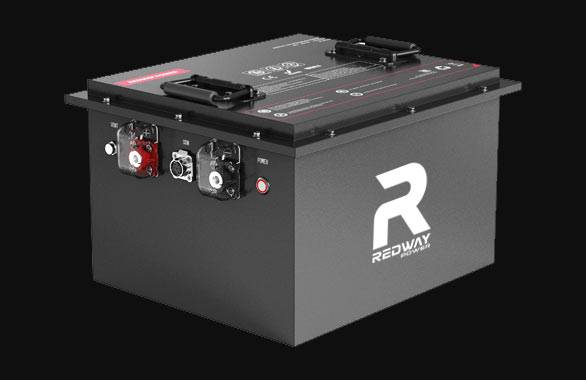
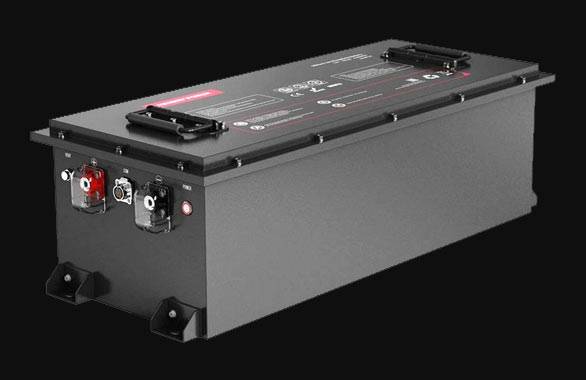
- Golf Cart Lithium Battery
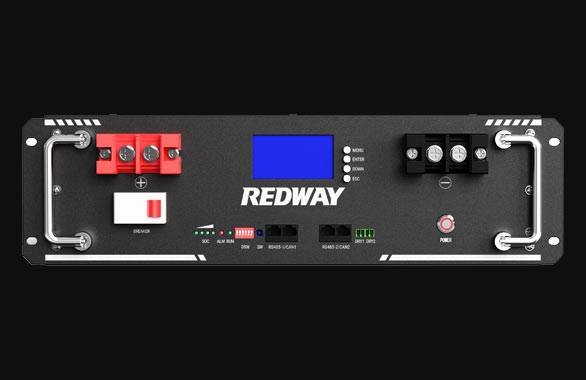
- Rack-mounted Lithium Battery
51.2V 100Ah Rackmount LiFePO4 Battery
8000 times (80% DOD 0.5C)
Optional SNMP for TELECOM - Car Starter Battery
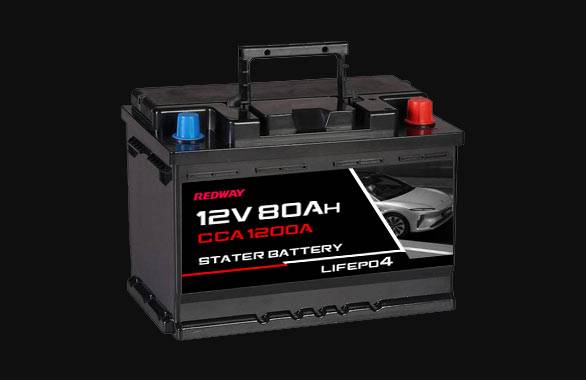
- 12V LiFePO4 Battery
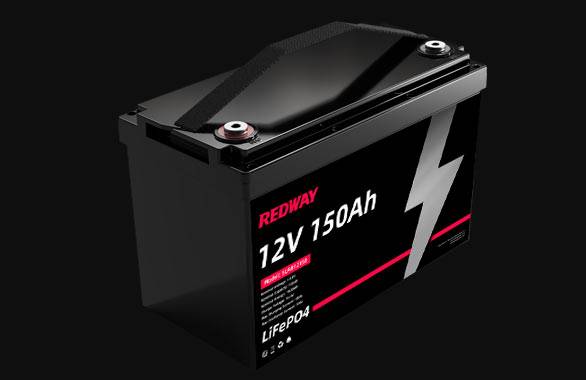
12V 150Ah Lithium RV Battery
Bluetooth App | Self-heating
LiFePO4 | Group 31
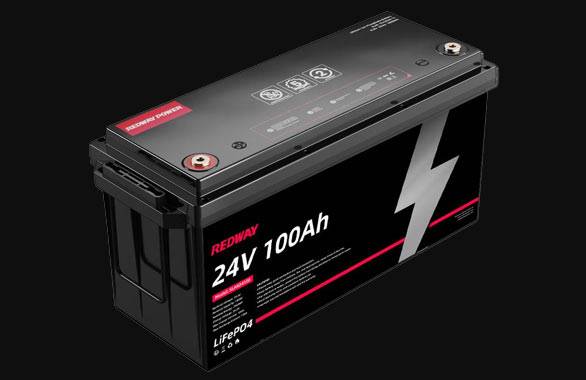
UL 1642 | IEC 62619 - 24V LiFePO4 Battery
- 36V LiFePO4 Battery
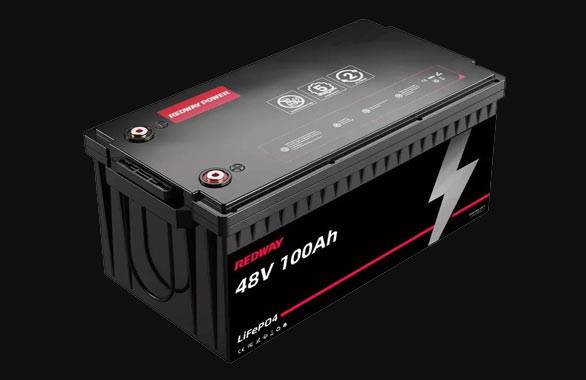
- 48V LiFePO4 Battery
- 60V LiFePO4 Battery
60V 100Ah Lithium Battery (AGV, AMR, LGV)
Peak Discharge Current 400A
500 x 298 x 349 mm - 72V~96V LiFePO4 Battery
72V 100Ah Lithium Golf Cart Battery
Peak Discharge Current 315A (10S)
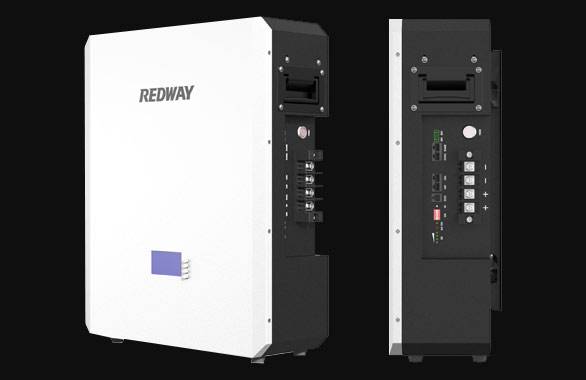
740 × 320 × 246 mm - Wall-mounted Lithium Battery
51.2V 100Ah 5kWh
Wall-mounted Battery532 x 425 x 170 mm / LiFePO4
>8000 Cycles (80% DOD 0.5C)
RS485 / CAN-bus
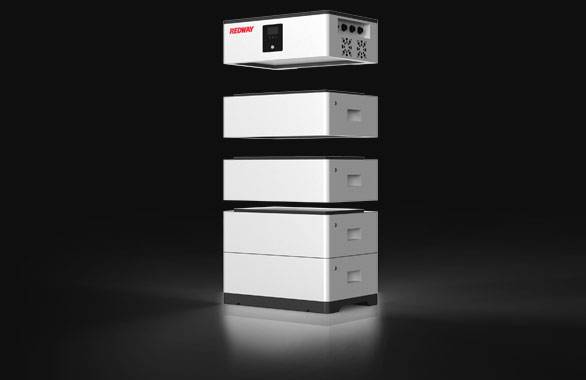
for Solar Home ESS - Home-ESS All-in-One
51.2V 32kWh
All-in-On HESS SystemPowerAll
51.2V / LiFePO4
>8000 Cycles (80% DOD 0.5C)
RS485 / CAN-bus / WiFi
All-in-One for Home ESS
How to Visually Inspect a 12V Battery: A Comprehensive Guide
In the realm of battery maintenance and performance, the visual inspection of a 12V battery is a crucial step. This process involves more than just a cursory glance; it requires a detailed examination to ensure the battery’s optimal functionality and longevity. By thoroughly inspecting key aspects of the battery, you can preemptively identify potential issues and address them before they escalate into more significant problems.
1. Checking the Battery Model and Manufacturing Data
Battery Model and Cell/Unit Manufacturing Data are essential indicators of the battery’s specifications and age. Begin your inspection by locating the battery’s label, typically found on the top or side of the battery. This label provides critical information, including:
- Battery Model Number: This number identifies the specific type and capacity of the battery. Confirm that it matches the specifications required for your application.
- Manufacturing Date Code: This code reveals the date when the battery was produced. A battery’s performance can deteriorate over time, so knowing its age is vital. A typical date code format might include the year and month of production, such as “2405” for May 2024.
Ensure that these details are clearly visible and accurate. Any signs of tampering or damage to the label could indicate potential issues or a counterfeit product.
2. Inspecting Battery Posts and Seals
The battery posts and seals are critical components that facilitate the connection and containment of the battery’s electrolytes. Proper maintenance of these parts ensures the battery operates efficiently and safely.
Battery Posts
- Examine for Corrosion: Corrosion around the battery posts can impede electrical connectivity and affect performance. Look for a white, ashy substance or a blue-green deposit around the terminals. If corrosion is present, it can usually be cleaned with a mixture of baking soda and water.
- Check for Tightness: Ensure that the battery cables are securely attached to the posts. Loose connections can lead to poor performance or even battery failure.
Seals
- Inspect for Cracks and Leaks: The battery seals are designed to prevent electrolyte leakage. Check for any signs of cracks, damage, or leakage around the seals. Electrolyte leaks can lead to reduced battery life and potential damage to surrounding components.
- Assess Seal Integrity: The seals should be intact and free from any visible wear or tear. Any compromised seals need immediate attention, as they could lead to safety hazards or performance issues.
3. Examining Inter-Cell Connections
Inter-cell connections are the links between the cells inside the battery. These connections are crucial for maintaining the battery’s overall performance and stability. To inspect these connections:
- Look for Signs of Wear or Damage: Check the visible parts of the inter-cell connectors for any signs of wear, corrosion, or damage. Corrosion or loose connections can result in reduced battery efficiency or failure.
- Verify Connection Security: Ensure that all inter-cell connections are securely fastened. Loose connections can cause erratic battery performance and should be addressed promptly.
4. Additional Considerations
While the primary focus of a visual inspection is on the model data, posts, seals, and inter-cell connections, consider these additional aspects to complete your evaluation:
- Overall Battery Condition: Examine the entire battery for any visible signs of damage, such as dents, cracks, or bulging. Physical damage can indicate internal issues and affect battery performance.
- Battery Case Integrity: Ensure the battery case is intact and free from any visible cracks or leaks. A compromised case can lead to hazardous conditions and reduce battery lifespan.
5. Conclusion
Performing a thorough visual inspection of a 12V battery is a fundamental step in ensuring its reliability and performance. By checking the battery model and manufacturing data, inspecting posts and seals, and examining inter-cell connections, you can detect potential issues early and maintain optimal battery functionality.
Regular inspections not only help in prolonging the battery’s lifespan but also ensure safety and efficiency. For those in need of high-quality batteries, Redway Power stands out as a leading manufacturer and wholesaler, specializing in LiFePO4 batteries. Whether for car batteries or golf cart batteries, Redway Power offers custom solutions tailored to your specific needs, guaranteeing reliability and performance.
Embrace these inspection techniques to maintain your 12V battery in peak condition and ensure that it continues to perform effectively in your applications.


