- Forklift Lithium Battery
- Golf Cart Lithium Battery
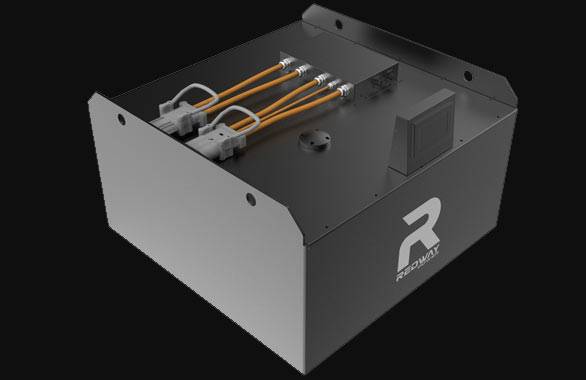
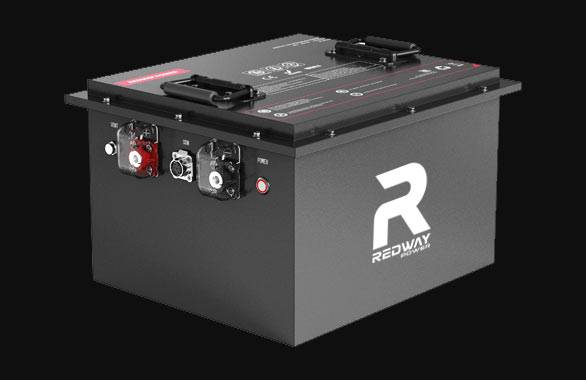
- Rack-mounted Lithium Battery

51.2V 100Ah Rackmount LiFePO4 Battery
8000 times (80% DOD 0.5C)
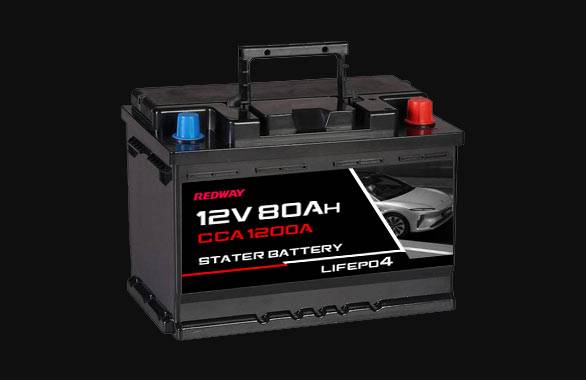
Optional SNMP for TELECOM - Car Starter Battery
- 12V LiFePO4 Battery
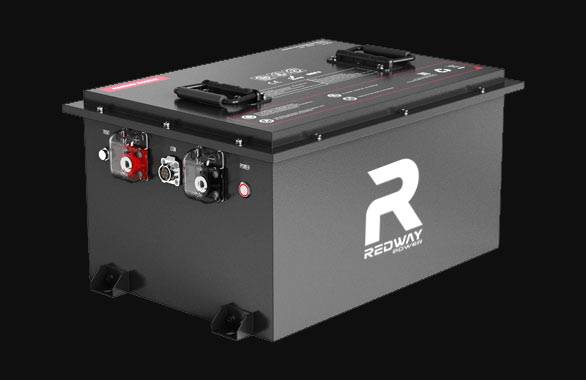
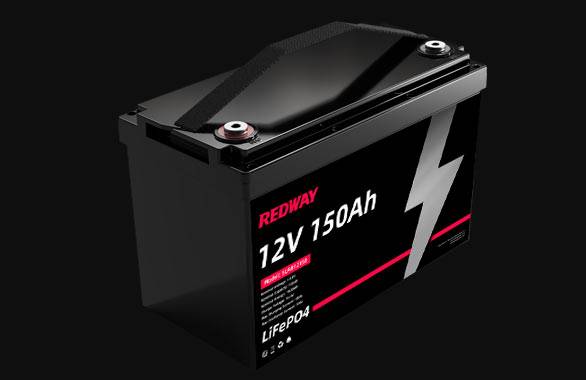
12V 150Ah Lithium RV Battery
Bluetooth App | Self-heating
LiFePO4 | Group 31
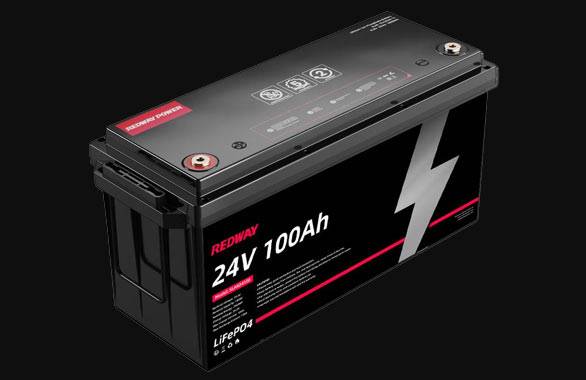
UL 1642 | IEC 62619 - 24V LiFePO4 Battery
- 36V LiFePO4 Battery
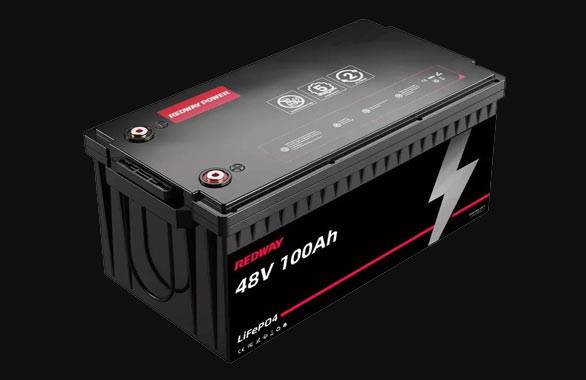
- 48V LiFePO4 Battery
- 60V LiFePO4 Battery
60V 100Ah Lithium Battery (AGV, AMR, LGV)
Peak Discharge Current 400A
500 x 298 x 349 mm - 72V~96V LiFePO4 Battery
72V 100Ah Lithium Golf Cart Battery
Peak Discharge Current 315A (10S)
740 × 320 × 246 mm - Wall-mounted Lithium Battery
51.2V 100Ah 5kWh
Wall-mounted Battery532 x 425 x 170 mm / LiFePO4
>8000 Cycles (80% DOD 0.5C)
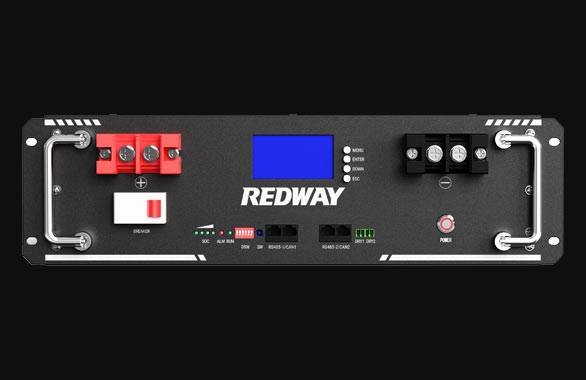
RS485 / CAN-bus
for Solar Home ESS
- Home-ESS All-in-One
51.2V 32kWh
All-in-On HESS SystemPowerAll
51.2V / LiFePO4
>8000 Cycles (80% DOD 0.5C)
RS485 / CAN-bus / WiFi
All-in-One for Home ESS
How to Wire Solar Panels to RV Battery Bank?
Wiring solar panels to an RV battery bank requires strategic planning and precise execution to ensure efficient energy transfer and system safety. The process involves installing panels, connecting through a charge controller, and integrating with existing battery systems using proper series/parallel configurations. LiFePO4 batteries (48V or 72V) are preferred for their compatibility with solar inputs and deep-cycle capabilities. Critical components include MPPT controllers for voltage optimization and fuses to prevent overloads. Pro Tip: Always verify polarity before final connections to avoid reverse-current damage.
Maximizing the Lifespan of Golf Cart Batteries

What tools are needed for solar panel installation?
Essential tools include a solar charge controller (MPPT recommended), MC4 connectors, 10AWG-8AWG wiring, and a drill with waterproof seals. A multimeter for voltage checks and cable cutters for clean wire terminations are critical. Pro Tip: Use UV-resistant conduit for rooftop wiring to prevent degradation from sun exposure.
Begin by mounting panels using aluminum brackets spaced 1-2 inches above the RV roof for airflow—rigid panels outperform flexible ones in heat dissipation. Route cables through existing vents or drill sealed entry points, avoiding sharp bends. MPPT controllers handle 30% more energy than PWM models by converting excess voltage into current. For example, wiring two 18V panels in series creates 36V input, allowing the controller to step down to 12V/24V battery voltage while maximizing amperage. Always install 15-20A fuses within 18″ of battery terminals.
⚠️ Warning: Never connect panels directly to batteries without a charge controller—overcharging can destroy LiFePO4 cells in minutes.
How do you prevent “voltage drop”? Use thicker cables for runs exceeding 10 feet—8AWG handles 30A at 24V with <3% loss.
| Connection Type | Voltage | Use Case |
|---|---|---|
| Series | Sum of panels | Long wire runs |
| Parallel | Panel voltage | Partial shading |
How to configure series vs. parallel wiring?
Series connections boost voltage for reduced current loss, while parallel setups maintain voltage with higher current tolerance. Match panel specs to avoid “weak link” inefficiencies.

Series wiring suits shaded routes where higher voltage overcomes resistance—e.g., four 12V panels in series create 48V input. However, one shaded panel cuts total output by 25%. Parallel configurations keep voltage at 12V but require thicker 6AWG cables for 40A+ currents. For mixed setups, group identical panels in sub-strings: two 18V/5A panels in series (36V/5A) combined with another pair in parallel yields 36V/10A. MPPT controllers excel here, converting surplus voltage to usable current. Pro Tip: Label all wires with polarity tags—red for positive, black for negative—to simplify troubleshooting.
⚠️ Critical: Never mix 12V and 24V panels in parallel—voltage mismatches create backfeed risks.
What if your roof has uneven space? Use micro-inverters per panel to isolate outputs, allowing mismatched sizes without performance loss.
| Configuration | Voltage | Current |
|---|---|---|
| 4S (Series) | 48V | 5A |
| 2S2P | 24V | 10A |
Redway Battery Expert Insight
For RV solar systems, LiFePO4 batteries paired with MPPT controllers deliver 95%+ efficiency. Redway’s 48V/72V banks support 3000+ cycles even with daily 80% depth of discharge. Always size solar arrays at 1.5x battery capacity—a 400Ah bank needs 600W panels for full recharge in 4-5 sun hours. Our kits include pre-wired busbars and Bluetooth-enabled controllers for real-time monitoring.
FAQs
Can I mix old and new solar panels?
Only if voltage/amperage specs match within 5%. Mismatched panels in series cause underperformance; parallel connections risk reverse currents.
How often should I clean solar panels?
Every 2-3 months using deionized water. Dust layers reduce output by 15-25%—critical for RVs parked in arid regions.
Understanding Golf Cart Battery Costs
