No more fumbling in the dark! Illuminate the right way to insert batteries into your flashlight with this enlightening blog post. From traditional handheld torches to modern rechargeable LED wonders, we’ve got you covered. Grab your flashlight and get ready to power up like a pro with confidence and ease!
The importance of knowing the correct way to put batteries in a flashlight
Flashlights are crucial tools for various situations, from power outages to outdoor adventures. Incorrectly inserting batteries can not only prevent proper functionality but also lead to potential damage. Here’s a guide to ensure optimal flashlight performance:
- Follow Manufacturer Instructions: Insert batteries according to the manufacturer’s guidelines to ensure proper connection with the flashlight’s circuitry, facilitating efficient power transfer and preventing short circuits.
- Avoid Poor Contact: Incorrect installation can lead to poor contact between battery terminals and connectors, causing issues like flickering lights or intermittent functionality.
- Prevent Leaks and Explosions: Backward insertion or mixing different battery types can result in leakage or explosions, posing safety risks. Pay attention to correct battery placement to navigate darkness without unexpected hazards.
Stay tuned for more insights into specific flashlight types and their unique battery requirements, empowering you to illuminate every situation with confidence!
Types of flashlights and their battery requirements
Flashlights come in various types, each with specific battery needs. Here’s a breakdown to help you choose the right batteries for your flashlight:
- Traditional Flashlights (AA/AAA): Widely used, these flashlights typically run on convenient and affordable AA or AAA batteries, easily replaceable when needed.
- Rechargeable Flashlights (Lithium-ion/NiMH): Growing in popularity, these flashlights feature built-in rechargeable batteries like lithium-ion or nickel-metal hydride (NiMH), eliminating the need for constant battery replacements.
- LED Flashlights (Energy Efficient): Known for energy efficiency, LED flashlights use less power than incandescent bulbs, ensuring longer battery life on a single set.
- Specialized Flashlights (CR123A/18650): High-performance tactical or professional-grade flashlights may require specialized batteries like CR123A or 18650 rechargeable lithium-ion batteries, offering increased brightness and runtime.
Always consult the manufacturer’s instructions for the correct battery specifications to avoid poor performance or damage. Understanding your flashlight’s battery requirements is vital for optimal performance and durability, whether using disposable or rechargeable options!
Step-by-step instructions for inserting batteries into a traditional flashlight
Inserting batteries into a traditional flashlight is a straightforward process. Here’s a step-by-step guide:
- Gather Correct Batteries: Ensure you have the right type and number of batteries (usually AA or AAA) as specified by the manufacturer.
- Locate Battery Compartment: Find the compartment, often at the flashlight’s base. Open it by unscrewing or sliding off a cap or panel.
- Check Markings: Observe any markings indicating battery orientation. Most flashlights have illustrations showing whether to insert positive (+) or negative (-) ends first.
- Insert Batteries: Hold each battery and align the positive end with markings inside the compartment. Gently slide them into their designated slots until securely in place.
- Secure Compartment: After inserting batteries, replace and secure any caps or panels tightly to prevent accidental dislodging during use.
- Test Flashlight: Turn on the flashlight to check for proper functionality. If done correctly, your flashlight should be ready for use!
Follow these steps carefully to insert batteries into a traditional flashlight, ensuring optimal functionality and preventing potential damage from incorrect installation.
Tips for inserting batteries into a rechargeable or LED flashlight
For correct battery insertion in rechargeable or LED flashlights, follow these tips:

- Consult Manufacturer’s Instructions: Always refer to the manufacturer’s instructions for battery compatibility and specifics for your flashlight model.
- Charge Batteries: Ensure batteries are fully charged, especially for rechargeable flashlights, to avoid reduced performance.
- Locate Battery Compartment: Find the compartment, usually at the back, by unscrewing a cap or removing a cover.
- Insert According to Polarity: Align batteries with polarity markings (plus [+] and minus [-]) and insert carefully to prevent short circuits or damage.
- Double-Check Placement: Confirm each battery is correctly placed before closing the compartment to avoid complications.
- Close and Secure Gently: Close and secure the compartment without over-tightening screws or covers to prevent difficulty opening or potential damage.
These tips ensure proper battery insertion, maximizing your rechargeable or LED flashlight’s performance and longevity while preventing complications.
Common mistakes to avoid when putting in batteries
To ensure your flashlight’s optimal performance and longevity, steer clear of these common mistakes when inserting batteries:
- Backward Insertion: Double-check positive and negative indicators on both batteries and the flashlight to avoid preventing it from turning on or damaging battery terminals.
- Mixing Battery Types: Avoid mixing different types or brands of batteries (alkaline, lithium, rechargeable) to prevent inconsistent power output and potential damage.
- Using Old Batteries: Opt for fresh, high-quality batteries to prevent power loss and corrosive leaks that can damage your flashlight’s internals.
- Inadequate Compartment Closure: Properly secure the battery compartment lid to ensure good contact between batteries and terminals, preventing intermittent power or complete failure.
By sidestepping these mistakes, you’ll enjoy reliable performance from your flashlight whenever needed!
How to properly store and replace batteries in a flashlight
Ensure your flashlight is always ready with these tips for proper battery storage and replacement:
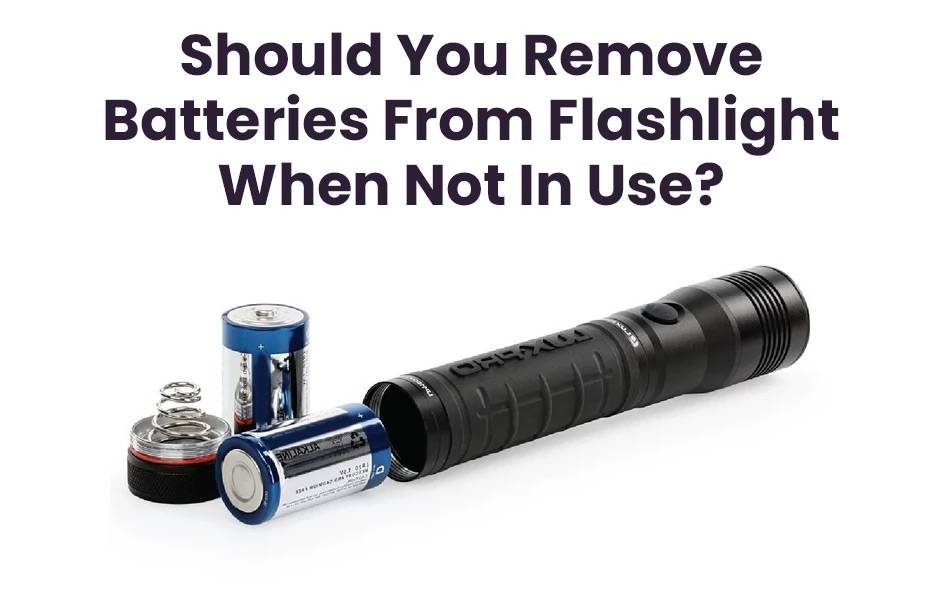
- Cool, Dry Storage: Keep your flashlight in a cool, dry place without batteries to prevent charge loss from extreme temperatures or humidity.
- Remove Dead or Leaking Batteries: Immediately remove expired or leaking batteries to prevent damage and corrosion to your flashlight’s internals.
- Choose Fresh, Quality Batteries: Opt for fresh, reputable batteries when replacing, as they offer better performance and longevity than cheaper alternatives.
- Match Battery Types: Different flashlights require specific battery types (e.g., AA, AAA, CR123A). Always use the correct type as per manufacturer instructions.
- Follow Polarity Markings: Align batteries correctly by following markings inside the compartment indicating the positive (+) and negative (-) ends to avoid damage or malfunction.
By adhering to these guidelines, you’ll extend your flashlight’s lifespan and ensure peak performance when light is crucial. Taking a moment to care for your equipment today pays off in reliability during emergencies or other critical situations!
New Insights
Here are the latest articles discussing the correct way to put batteries in a flashlight:
- Baidu Experience provides a step-by-step guide on how to correctly install batteries, emphasizing the importance of aligning the positive and negative terminals as indicated in the battery compartment. It suggests starting with the negative terminal first to avoid damaging the battery chamber.
- MAIGoo Knowledge offers maintenance tips for flashlights and instructions for battery use, including the types of batteries commonly used in flashlights, such as 18650, 16340, 17670, 14500, and CR123A lithium batteries. It also highlights the unique characteristics of lithium batteries, such as having no memory effect and requiring careful charging to prevent overcharging.
- Redway explains how to replace batteries in a flashlight, which is particularly useful for young students or those unfamiliar with the process. The article guides readers through the steps of replacing batteries to ensure the flashlight functions correctly.
These articles collectively provide guidance on the proper installation of batteries in flashlights, with a focus on correct polarity alignment and battery care to ensure the device’s optimal performance and longevity.
“Proper battery installation is fundamental to the functionality and longevity of flashlights. Aligning the positive and negative terminals as indicated in the battery compartment is crucial to prevent damage to the device. For lithium batteries commonly used in flashlights, understanding their unique charging requirements and lack of memory effect is key to optimizing their performance. As a lithium battery expert, I recommend following the manufacturer’s guidelines for battery care and replacement to ensure safety and reliability.” — Mr. Raza, Lithium Battery Expert from Redway Power