Blog
How to Install a Group 51R Battery in Your Vehicle: Step-by-Step Guide
Installing a Group 51R battery requires careful attention to safety and proper procedures. This guide provides a detailed walkthrough to ensure a successful installation, from preparation to post-installation maintenance. Follow these steps to enhance your vehicle’s performance and battery longevity.

What Safety Precautions Are Essential Before Installing a Group 51R Battery?
Always wear gloves and safety goggles to prevent acid exposure. Disconnect the negative terminal first to avoid short circuits. Work in a well-ventilated area to disperse flammable gases. Keep sparks, flames, and metal tools away from the battery. Ensure the vehicle is off, and keys are removed from the ignition before starting.
Which Tools Are Required for a Group 51R Battery Installation?
You’ll need a wrench (10mm or 12mm), battery terminal cleaner, anti-corrosion spray, a battery hold-down clamp, and dielectric grease. A battery carrier or strap simplifies safe handling. Optional tools include a voltmeter to test voltage and a wire brush for terminal maintenance.
| Tool | Purpose |
|---|---|
| Wrench (10mm/12mm) | Secure terminal connections |
| Battery terminal cleaner | Remove corrosion buildup |
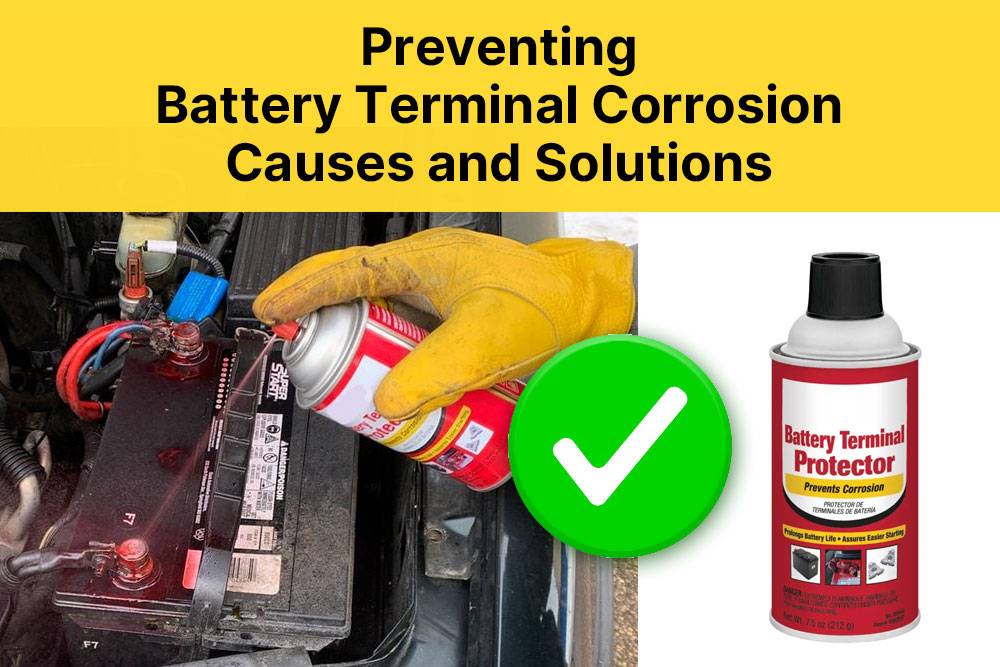
| Anti-corrosion spray | Prevent future terminal oxidation |
| Voltmeter | Verify voltage stability |
How Do You Remove an Old Group 51R Battery Safely?
Disconnect the negative (-) terminal first, then the positive (+). Remove the hold-down clamp or bracket. Lift the battery straight up, keeping it level to avoid spills. Place it on a stable surface and avoid tilting, which can leak acid. Dispose of the old battery at a certified recycling center.
BCI Group 51 and 51R Batteries

How to Prepare the Battery Tray for a New Group 51R Battery?
Clean the tray with a baking soda-water mixture to neutralize acid residue. Scrub corroded areas with a wire brush. Dry the tray thoroughly, then apply anti-corrosion spray or pads. Inspect for cracks or damage that could affect stability. Ensure the tray is free of debris before placing the new battery.
What Steps Ensure Proper Installation of a New Group 51R Battery?
Position the battery securely in the tray. Connect the positive (+) terminal first, then the negative (-). Tighten terminals to 5-7 ft-lbs of torque. Apply dielectric grease to prevent corrosion. Reattach the hold-down clamp to prevent vibration damage. Double-check all connections and test the vehicle’s electrical systems.
How to Test and Maintain Your Group 51R Battery Post-Installation?
Use a voltmeter to confirm a voltage of 12.6V or higher. Start the vehicle to test charging system functionality. Inspect terminals monthly for corrosion and clean as needed. Ensure the hold-down clamp remains tight. Avoid draining the battery with accessories when the engine is off. Schedule annual professional load tests.
For optimal performance, check electrolyte levels every 3-6 months in non-sealed batteries using a refractometer. Maintain specific gravity between 1.265 and 1.299. In colder climates, consider using a battery warmer to preserve starting power. Track voltage trends over time—consistent drops below 12.4V indicate potential alternator issues or parasitic drains. Keep the battery surface clean; dirt accumulation can create conductive paths that accelerate discharge.
| Voltage Reading | Battery Status |
|---|---|
| 12.6V+ | Fully charged |
| 12.4V | 75% charge |
| 12.0V | 25% charge |
What Environmental Factors Affect Group 51R Battery Performance?
Extreme heat accelerates fluid evaporation, while cold reduces cranking power. Store the vehicle in a garage to mitigate temperature extremes. Humidity increases corrosion risk—apply anti-corrosion spray proactively. Elevation impacts electrolyte boiling points; consult manufacturer guidelines for high-altitude adjustments.
Batteries lose 33% of their power at -1°C and up to 50% at -18°C. Use thermal wraps in freezing conditions to maintain efficiency. In desert climates, install heat shields to protect against engine compartment temperatures exceeding 60°C. Coastal areas require more frequent terminal cleaning due to salt air corrosion. At elevations above 1,500 meters, consider using pressurized vent caps to prevent electrolyte loss.
| Temperature | Effect on Battery |
|---|---|
| >35°C | Accelerated plate corrosion |
| <0°C | Increased internal resistance |
| 15-25°C | Ideal operating range |
Expert Views
“Proper installation of a Group 51R battery hinges on terminal security and corrosion prevention. Many premature failures stem from loose connections or environmental neglect. Always prioritize torque specifications and use dielectric grease—these small steps can extend battery life by 20-30%.” — Redway Power Solutions Lead Engineer
Conclusion
Installing a Group 51R battery demands precision in safety, tool use, and post-installation checks. By addressing environmental factors and adhering to torque specifications, you ensure optimal performance and longevity. Regular maintenance and professional testing further safeguard your vehicle’s electrical reliability.
FAQ
- Q: Can a Group 51R battery fit non-compatible vehicles?
- A: No—always verify size, terminal placement, and CCA (cold cranking amps) ratings against your vehicle’s manual.
- Q: How long does a Group 51R battery typically last?
- A: 3-5 years, depending on usage, maintenance, and environmental conditions.
- Q: Is it safe to jump-start a vehicle with a Group 51R battery?
- A: Yes, but connect jumper cables to the dead battery’s positive terminal and the donor vehicle’s engine block (negative) to minimize spark risk.