Blog
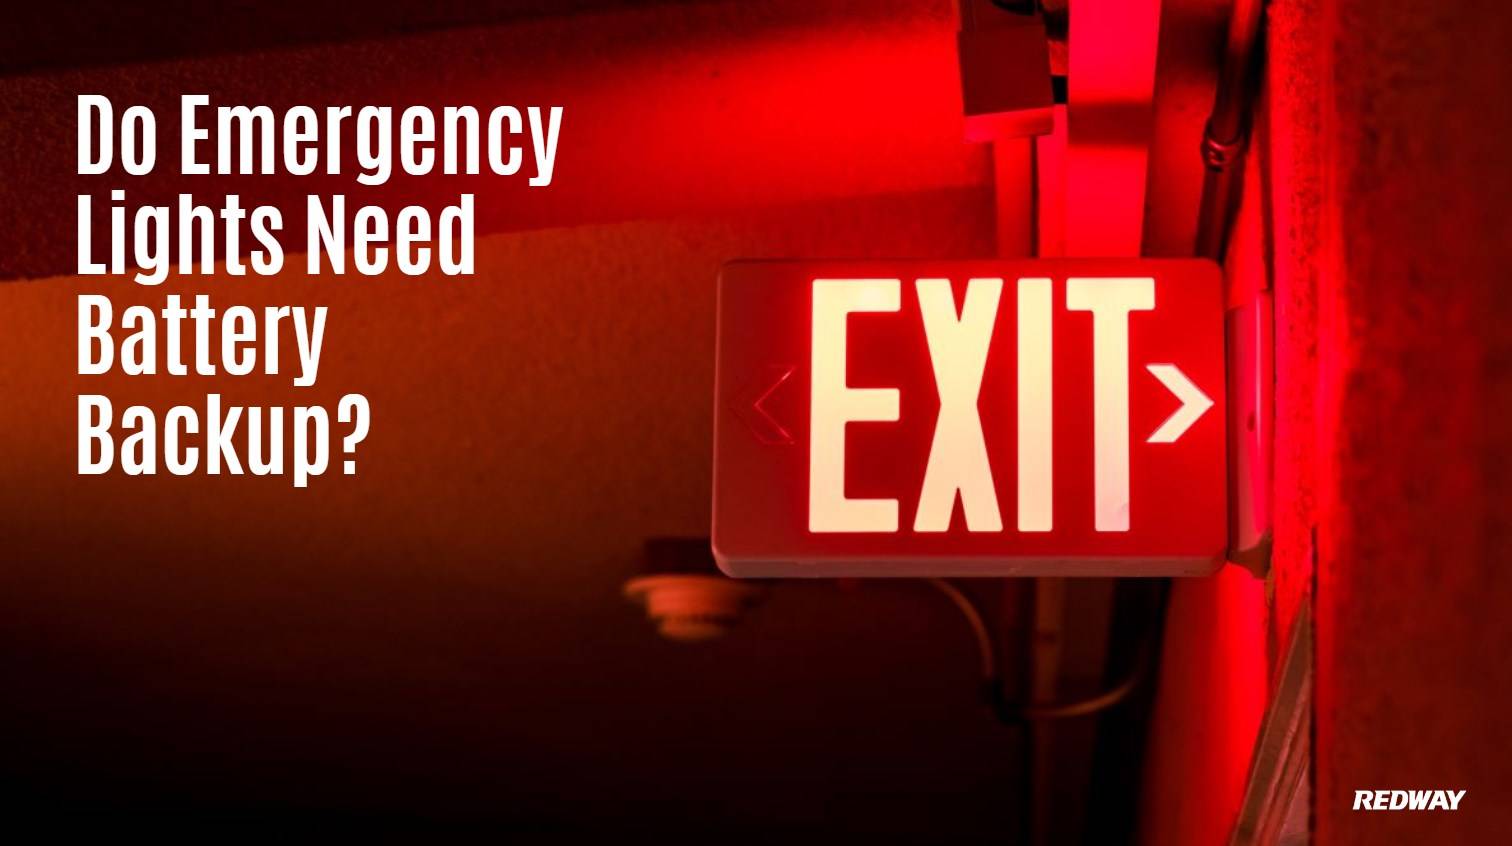
Can you replace batteries in emergency lights?

Yes, you can replace batteries in emergency lights, and doing so is crucial for maintaining their functionality during power outages. Most emergency lights use rechargeable batteries that can degrade over time, necessitating replacement to ensure reliable performance. Understanding how to replace these batteries safely is essential for effective emergency preparedness.
Can you replace batteries in emergency lights?
Yes, replacing batteries in emergency lights is not only possible but also necessary for their proper functioning. Emergency lights typically contain rechargeable batteries that provide backup power during outages. Over time, these batteries can lose capacity and require replacement to ensure that the lights operate effectively when needed.
What types of batteries are commonly used in emergency lights?
Emergency lights generally use two main types of rechargeable batteries:
- Nickel-Cadmium (NiCad): These batteries are commonly used due to their ability to withstand deep discharges and have a long life cycle. However, they can suffer from memory effect if not fully discharged regularly.
- Lead-Acid: These are heavier and larger than NiCad batteries but provide longer backup times. They are often used in larger emergency lighting systems.
- Lithium-Ion: Increasingly popular due to their lightweight design and higher energy density, lithium-ion batteries offer longer life spans and faster charging times compared to traditional options.
| Battery Type | Advantages | Disadvantages |
|---|---|---|
| Nickel-Cadmium (NiCad) | Long life cycle | Memory effect |
| Lead-Acid | Longer backup time | Heavier and bulkier |
| Lithium-Ion | Lightweight, fast charging | Higher initial cost |
How do you identify when an emergency light battery needs replacement?
There are several indicators that suggest it may be time to replace your emergency light battery:
- Physical Signs: Look for leakage, corrosion around terminals, or a swollen battery casing.
- Performance Issues: If the light dims significantly during tests or fails to turn on during a power outage, the battery likely needs replacement.
- Age: Most emergency light batteries have a lifespan of 3 to 5 years, depending on usage and environmental conditions.
- Regular Testing: Conduct monthly tests as recommended by safety standards; if the light does not illuminate during testing, it indicates a battery issue.
What are the steps to safely replace an emergency light battery?
Replacing an emergency light battery involves several straightforward steps:
- Turn Off Power: Ensure that the power supply is turned off before starting any work on the unit.
- Remove the Cover: Use a screwdriver to remove screws or clips holding the cover in place.
- Disconnect Old Battery: Carefully disconnect the old battery by removing the negative terminal first, followed by the positive terminal.
- Insert New Battery: Place the new battery in the compartment, ensuring correct alignment of positive and negative terminals.
- Reconnect Terminals: Attach the positive terminal first, followed by the negative terminal.
- Replace Cover: Securely reattach the cover and restore power to test functionality.
| Step | Description |
|---|---|
| Turn Off Power | Safety first; disconnect from mains |
| Remove Cover | Use appropriate tools |
| Disconnect Old Battery | Follow terminal order |
| Insert New Battery | Align terminals correctly |
| Reconnect Terminals | Positive first, then negative |
| Replace Cover | Ensure it’s secure before testing |
Why is it important to use the correct battery type for replacements?
Using the correct type of battery is crucial because different battery chemistries have varying charging requirements and discharge characteristics. For instance:
- NiCad vs Lithium-Ion: A NiCad battery cannot be replaced with a lithium-ion without modifications since lithium-ion requires specific charging circuits.
- Safety Risks: Incorrect replacements can lead to overheating, potential fires, or device failure.
- Performance Issues: Using a non-compatible battery may result in inadequate performance during emergencies when reliable lighting is critical.
What tools do you need for replacing emergency light batteries?
To replace an emergency light battery effectively, you’ll need:
- Screwdriver: Typically Phillips head or flathead depending on your model.
- Wire Cutters/Strippers: Useful if wires need trimming or stripping before connecting new terminals.
- Soldering Iron (if necessary): For models where connections are soldered rather than clipped.
- Multimeter: To check voltage levels before and after replacement.
Tips for Battery Wholesale Buyers
For those looking to purchase batteries in bulk or OEM orders, consider these key points:
- Choose Reliable Manufacturers: Partnering with established companies like Redway Power, which has over 13 years of experience in lithium battery technology, ensures quality products.
- Understand Your Needs: Clearly define specifications based on application requirements.
- Request Samples: Before placing large orders, testing samples helps ensure product satisfaction.
By opting for advanced battery technologies over traditional options, buyers benefit from improved efficiency and reduced environmental impact.
Redway Power Expert Views
“Regular maintenance and timely replacement of emergency light batteries are essential for safety,” states an expert from Redway Power. “Understanding your specific lighting system’s requirements ensures reliability during critical moments.”